Frederick County, Maryland Art Teacher and Photographer

Wednesday, July 13, 2016

Soffit Removal: Part 2

While we are repainting the cabinets we decided to take down the cabinets above the peninsula and the soffit as well.  I have come to call it "The Offending Soffit".  We are going to reimagine some cabinet space along the wall.  Here are some images so far....
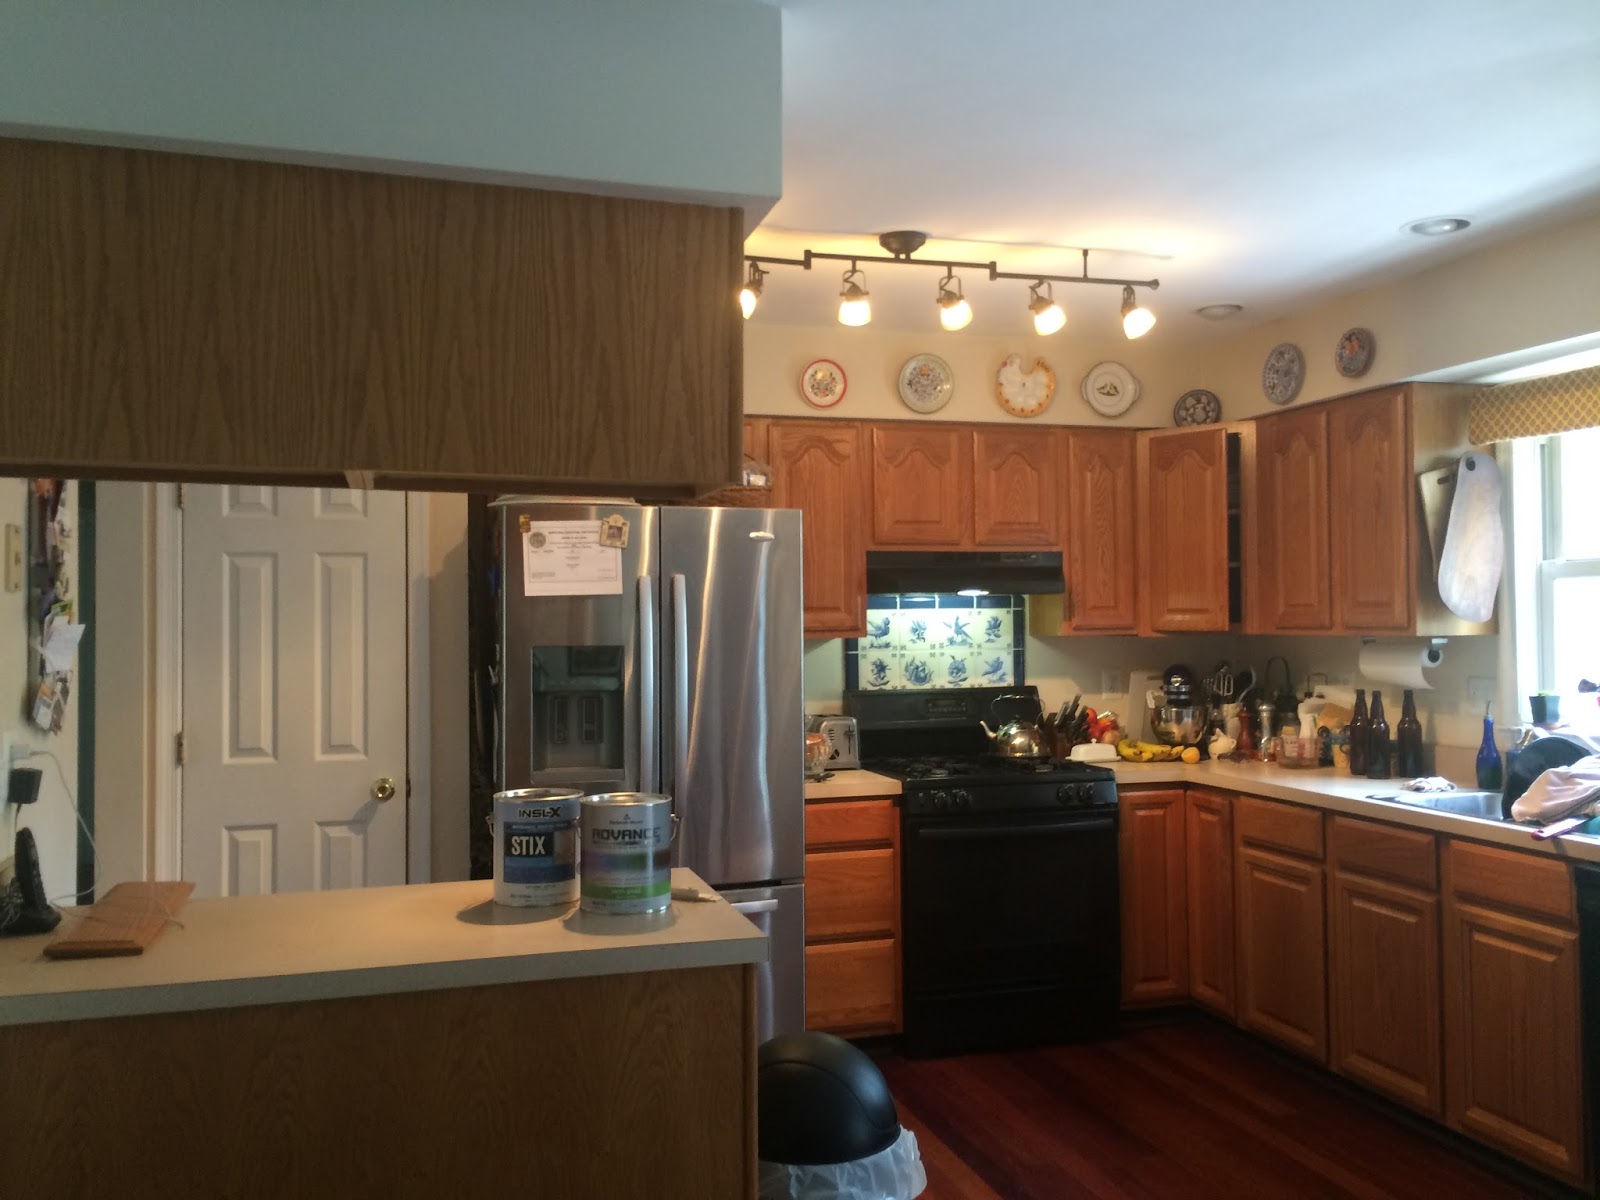
Here is a before panoramic image of the kitchen with the peninsula and the offending soffit to the right.
The Offending Soffit hangs above Liam.  Cabinets once hung down from there as well. 
View from the living room looking in.
The cabinets (without doors) waiting for paint and to be hung on the wall.
Husband in his high-water Dickies!
There was a ton of insulation and it was good Ryan had a mask.
We ended up stuffing most into a garbage bag and re-stuffing it back up in the ceiling. 
I suggested we close it off with a layer of plastic so it would not all fall out.
Drywall borrowed from friends as our piece was not wide enough. 
I like to leave little messages whenever I am working on a project like this. 

 Part 1: Oak Kitchen Cabinets Painted White

Oak Kitchen Cabinets Painted White: Part 1

We have lived in our 20 year old house for 15 years and I finally worked up the courage to change the honey oak kitchen cabinets to white.  We knew we couldn't afford new cabinets but I had plenty of time this summer to dedicate to the project now that school is out.  The first part took nearly 2 1/2 weeks. 

I decided to use premium paint and went to Regal Paints in Frederick to buy one gallon of Benjamin Moore Advance ($58) as well as a gallon of Benjamin Moore INSL-X STIX primer. I did not tint the paint. The primer cost more than the paint and I would have been fine with a quart ($17). I picked up one nice brush, some door and cabinet rollers, tact cloth and even some latex gloves. I had most of the other paint supplies on hand. 


Before (panoramic)


Doors off, cleaned with TSP and sanded.
Cabinets hanging over the peninsula removed from the soffits with the help of my sons.
Number your cabinets with the corresponding doors.

Here are some tips:


  • Number all the doors and cabinets and keep all the hardware with the correct doors.  I stashed mine inside the cabinet once removed.  With tape number your doors on both the underside of the tape and above. 
  • Clean all the wood with TSP and sand.  Follow up with a tact cloth to remove dust.
  • Even though it may not seem like you need to, clean out all the cupboards.  This will help you see what you have, simplify and reorganize.
  • The only cupboards I didn't empty were my medicine cabinet and under the sink cleaning products. That's for the future. 
  • Take a photo of any funky cabinet hardware before removal.  We had a corner cabinet with a difficult set of hinges and it will help jog your memory. 
  • Paint your walls a fresh coat of paint before starting with the cabinets. 
  • You can unscrew the drawer fronts to make panting easier.
Drawer front is matched to correct drawer.
Contents emptied
Walls painted
Prime


Getting the first coat on and already the kitchen seems brighter.
Fix mistakes along the way
This corner upper cabinet was never hung properly and we debated about if we should leave it.  Finally my husband realized it was only screwed in on one side so he went and got the car jack.  I was worried the cabinets would be damaged but guess what.....

He fixed it!
We ended up fixing one more cabinet and adding some molding to the top of the cabinets to find off the space. One of my son's even volunteered to help.
Liam helps to add molding which was later painted.
We paid Liam to sand all of the doors and drawer fronts and back. 
The painting process of the cabinet doors and drawer futons takes a lot of time and patience in-between drying.  I used the garage as my painting area and elevated them on plastic cups while drying.  It took about five/six days and I put on more than five coats on the front. It's one of those jobs that would take me about one hour to paint all the fronts, let them dry, then one hour to paint all the backs, and let them dry. 
Almost finished on this side of the kitchen....we just need to add knobs and pulls and fix that pesky lower corner cabinet.
Part 2: Soffit Removal